Creating a new set of molds. The 3d prints were not working out, too much depth in the engraving and embossing areas. Its not good, the mold making material gets grabby and detail is lost. Tonight rying it the other way. Glued down the design side, so the part showing is just about right.
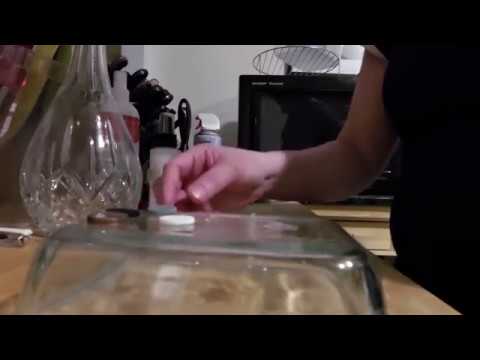
Glued 3 pennies together, and then glued them up to the bottom of the mold container. I was thrilled to see that Composimold did amazing with this detail. If only the printer would let me use finer resultions and less depth, it would really work out well. But minimum print requirements – are minimums. Can’t get around them.
Melted and poured Composimold into the container, after spraying bubble buster on the items. This work really well. The mold took about 1/2 an hour to set up, and then i placed it in the freezer for some time.
5/8 an inch, or 15.875mm cutouts for the logo to embed. I made the mistake of adding some color. The resin does not need it for this case. I believe this will be too opaque. In at least 5 hours I can test it. At the least i will have a couple more base items for the next mold build. Next video in this series will be the results and casting the next mold.
-~-~~-~~~-~~-~-
Please watch: “I Can’t Believe I didn’t have a plan! Making an impromptu chisel set holder out of wood…”
https://www.youtube.com/watch?v=41Hz04y_cWI
-~-~~-~~~-~~-~-