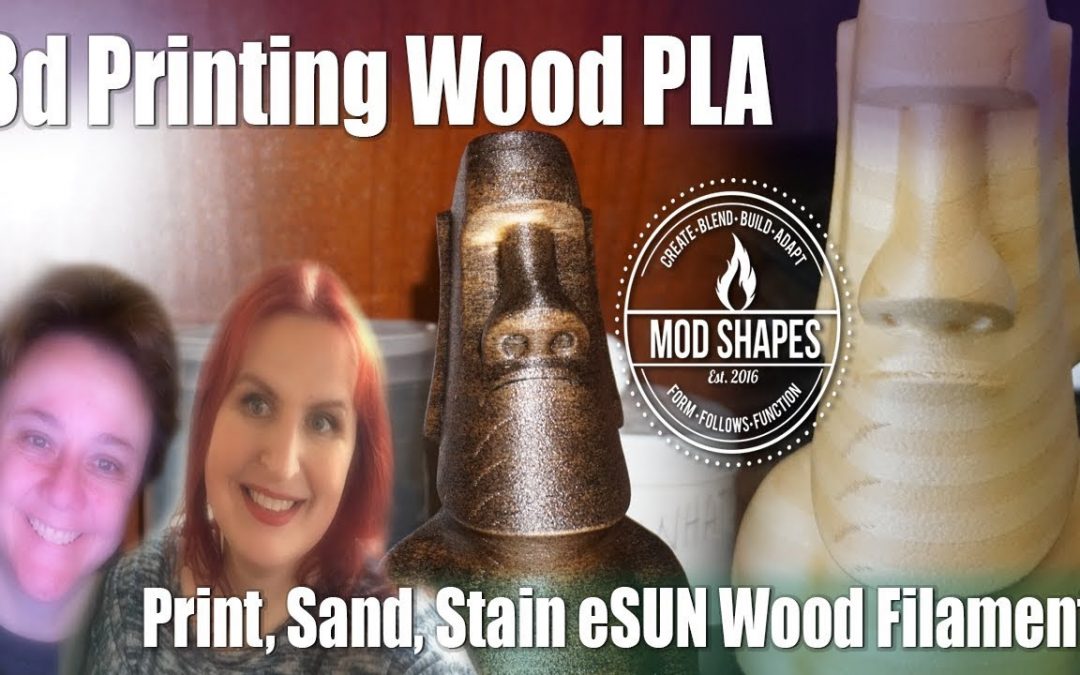
I used some special PLA – eSun Wood Filament – to 3d Print, Sand, and Stain a MOAI Sunglasses Holder. The results were pretty great!
ModShapes is about product design and making things. We started out making bespoke stands for vapes. Today we do resin artwork, 3d modeling, and more.
Please subscribe! https://www.youtube.com/channel/UCvLHH254uR79Cy1xj4f_tfg
New videos come out as time and quality allow! Thank you for watching…
https://www.bensound.com/the-lounge
Slow Motion
Summer
_
Today we are going to show you the process and result of printing a MOAI Sunglass holder with eSun’s Wood Filament.
We got this filament from the local Microcenter and it’s pretty inexpensive. We are eager to try more expensive filaments later but for now, we are trying out what came easiest.
Here you can see the settings in simplify3d and that we are beefing up the outlines and perimeter shells here. That’s important because in the version we printed, it was less robust and we found the need to make this stronger. Especially if you want to sand the print later.
Alex and I read online how varying the temperature can cause the illusion of wood rings, and with eSun we found that was entirely true. We were able to create the illusion by increasing and decreasing in the range of 200 to 220 degrees Celsius every 20 layers or so.
I had to add all these by hand. Not the most fun, but manageable.
We were was so happy when the result of this print came out like this. Pretty nice, detail with rings. One small issue with a part breaking but that is remedied by beefing up the print layers.
Now to finish this off, I headed out to the garage on this amazing day, grabbing my trusty old box, and applying some Minwax wood stain. It’s pretty hot out there, I used one coat of mahogany. I tried to sand, but until the next print with the thicker layers, I am using caution. The stain goes a long way!
She only needed to apply one coat. You should use gloves when using stain, it gets everywhere! wait between 5-15 minutes based on the instructions of
each stain, and then wipe the excess stain off with a rag or towel.
Here you can see the look right after one coat, it needs to dry still, but I can see the wood grain feel underneath the stain. This is pretty amazing when you think about it!
Thank you for watching this video! Please hit the like button and subscribe for more content like this, it really helps us out.
_
Want to Support ModShapes?? Here are some ways!
#1 Have you shared the video?
#2 Please Subscribe!!
#3 Buy a cool ModShapes shirt here: http://modshapes.com/swagger-shirts
#4 Grab your copy this book: http://viscombook.com
Are you linked up with our other social media sites?
Instagram: https://www.instagram.com/modshapes/
Twitter: https://twitter.com/modshapes
Pinterest: https://www.pinterest.com/aeondg/
Facebook: https://www.facebook.com/modshapes/
